How to Make Tile Coasters in Ten Easy Steps! - {A "Twitter Tuesday" Holiday Post}
Today's "Twitter Tuesday" post is a bit of a stretch, but it was just too much fun not to share! I learned of the Charleston Craft Bee (@chscraftbee) through Twitter, so that's the connection I'm using to make this post work here (smile). For those of you that read my jewelry blog, this was posted there last night.
I shared photos recently from the Charleston Craft Bee event I attended with Kelly and Elizabeth. The project Kelly & I chose was the tile coaster project. I SO enjoyed making drink coasters that I decided it could be a fun handmade holiday gift project. I love that these can be personalized and are rather inexpensive.
I shared photos recently from the Charleston Craft Bee event I attended with Kelly and Elizabeth. The project Kelly & I chose was the tile coaster project. I SO enjoyed making drink coasters that I decided it could be a fun handmade holiday gift project. I love that these can be personalized and are rather inexpensive.
I’m sharing instructions below for those who would like to make coasters. I wouldn't have known how to make these fun coasters if it weren't for the Charleston Craft Bee...please check their site out if you are in the area! I made 9 more sets this past weekend and love how they turned out (photos below).
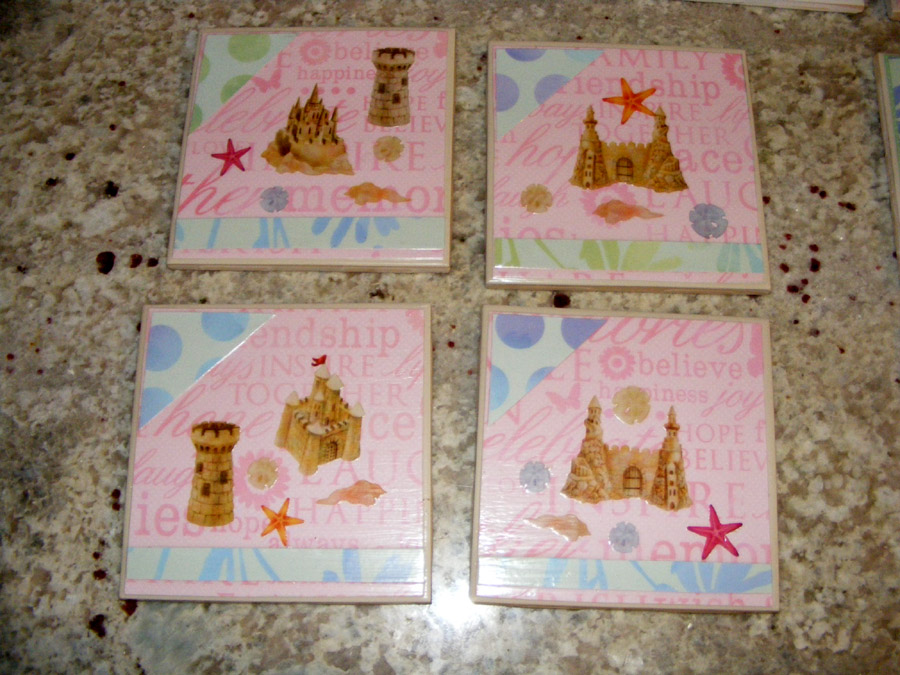 |
| fun coaster set in pink w/ sandcastle theme |
Tile Coaster Project Supply List
- Tile coasters from Lowes – as low as $0.20/each ($0.20/each for white and cream tiles, $0.36 for black tile, and $1.20 for other colors such as blue)
- Spray polyurethane (in clear) or spray acrylic (in clear) from Lowe’s or Walmart
- Foam paint brush (1/2”) X 2 (under $2)
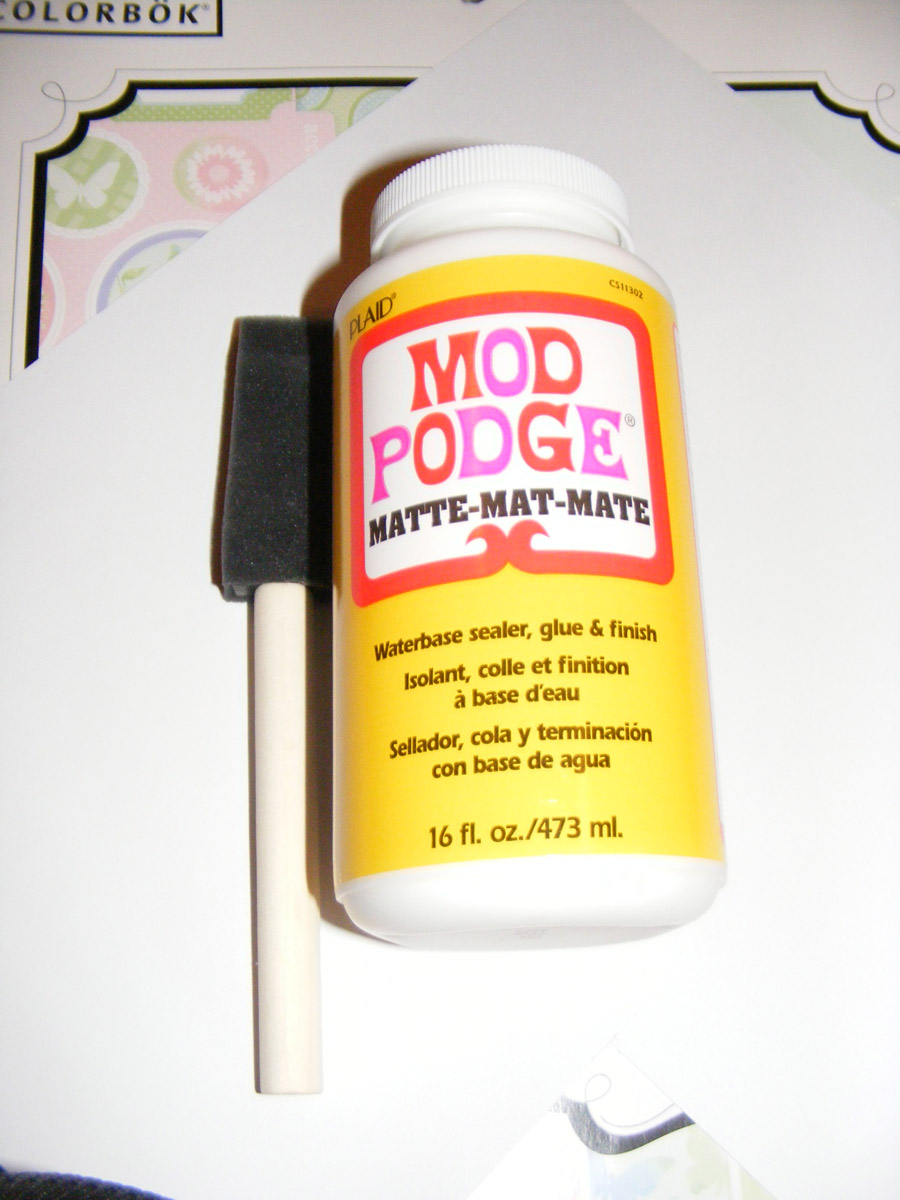
- Mod Podge (get the large jar – available at craft store or Walmart)

- Tacky glue from the craft store (will be used to adhere felt to the backs of your completed coasters – also sold at Walmart)
- Squares of felt for the backs of your coasters (craft store or Walmart)
- Scrapbooking paper or other papers (pages from a book, old maps, newspaper, comics, the sky is the limit)
- Stickers (flat, not textured or raised), stamps (not necessary)
Estimated cost for supplies – enough to make 10 sets of coasters (40 tiles total) –under $35 (can't beat it!!)
How to Make Tile Coasters in Ten Easy Steps!
- Select the paper(s) that you will be using on your first set of coasters. Cut your paper into 4 squares that will fit on top of each of your 4 coasters. The paper should come close to the edge of your coaster, but not too close. If it goes over (or very near) the edge of the coaster, it makes gluing difficult. Determine what you’ll place on top of your paper squares (if desired). For example, will you be adding stickers, stamping a person’s initials, adding smaller paper shapes, etc.
- Apply a THIN coat of mod podge to the top of your tile surface. Quickly place your paper square on top of the coaster, just on top of the wet mod podge. Rub your fingers over the edges and all areas of the paper after it has been applied to the coaster. This helps remove air bubbles and ensures a good seal. If you notice any edges are not sticking to the coaster, add a bit more mod podge and press gently with your finger. If you use too much mod podge, your paper may ripple or have air bubbles even after you press. It may take a bit of practice of your first go-round to figure out just how much mod podge is appropriate for your paper and tiles. Repeat this step on your remaining 3 coasters.
your first square of paper on top of your mod podge - don't forget to run your finger over the edges - Allow the coaster to dry for just a few minutes. Usually by the time you’ve finished the fourth coaster, the first is ready for the next step. If you’ll be stamping or adding stickers, now is the time to do this.
- Paint a very thin layer of mod podge on top of your paper square. Paint all the way to the edge of the coaster, so you’re creating a nice seal at the edge of the paper. Do this on all 4 of your coasters.
- Allow your coasters to dry nearly completely. Now you’re ready to add your second layer of paper (if desired). To add this layer, cut out your paper shapes as desired. Apply a thin coat of mod podge to the back of this paper shape Quickly place on your tile coaster as desired. Run your finger over this second layer to remove any air bubbles. Allow this layer to dry.
- Your tile coasters should be ready for the final layers of mod podge…meaning your design should be finished. Add a thin layer of mod podge onto your coasters. Allow to dry.
- Add one final thin layer of mod podge onto your coasters. Allow to dry.
- VERY IMPORTANT STEP - Lay out fabric or newspaper in an open area (or your garage) and get ready to spray your coasters with clear acrylic or clear polyurethane. Spray two nice coats. Don't miss this step or your coasters will not be water resistant. :)
- Allow to dry overnight.
- Apply felt squares with tacky glue to the backs of your completed coasters.
Your coasters are ready for gifting!
Butterfly set 
Fun snowman set 
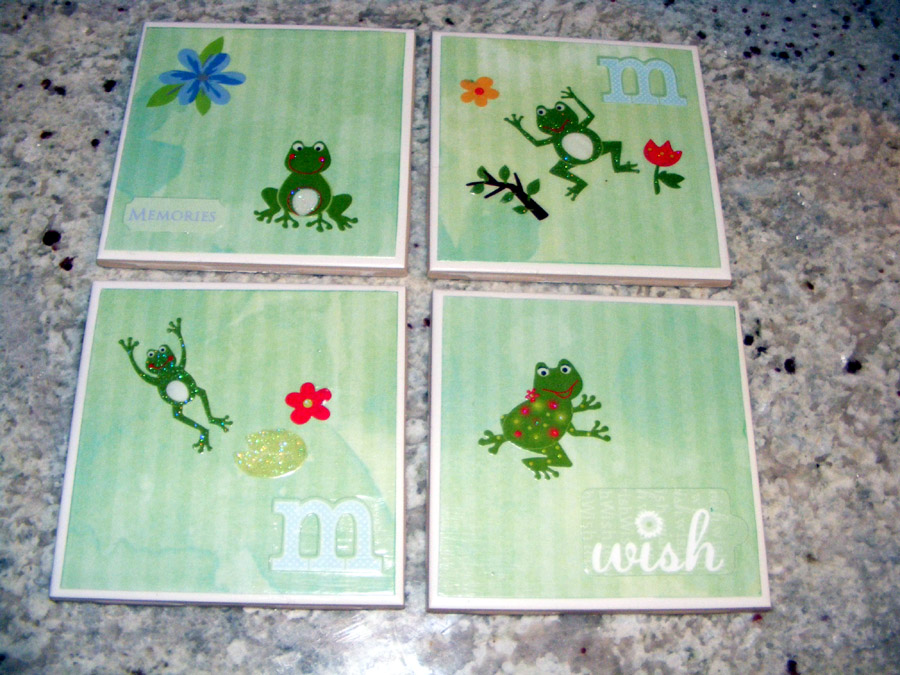
fun set with frogs for Mita
 |
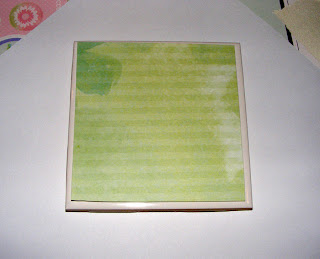
| your first coat of mod podge |
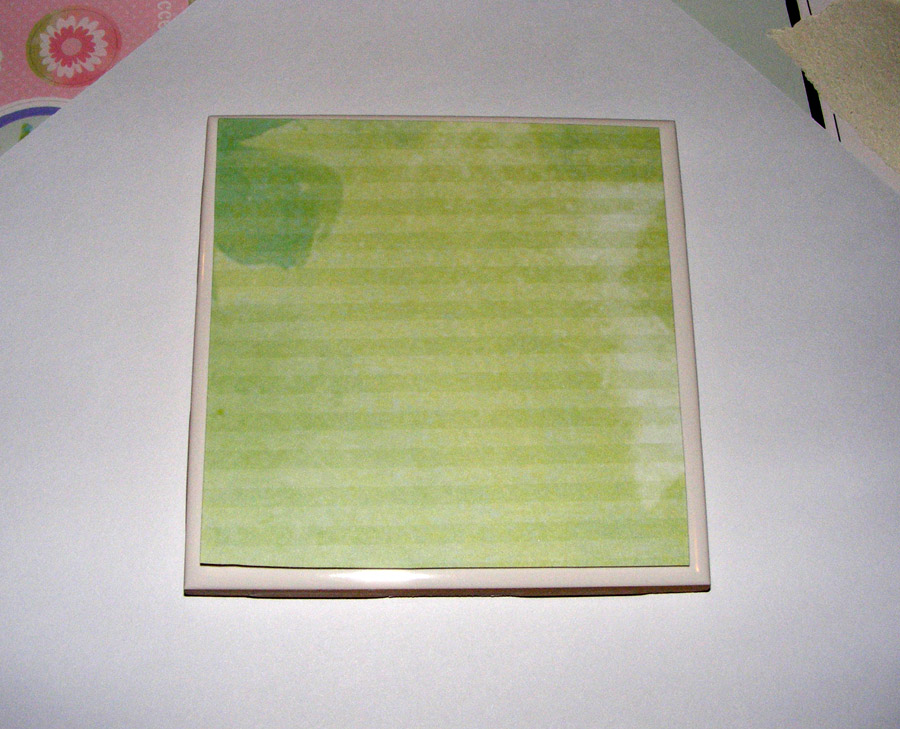
 |
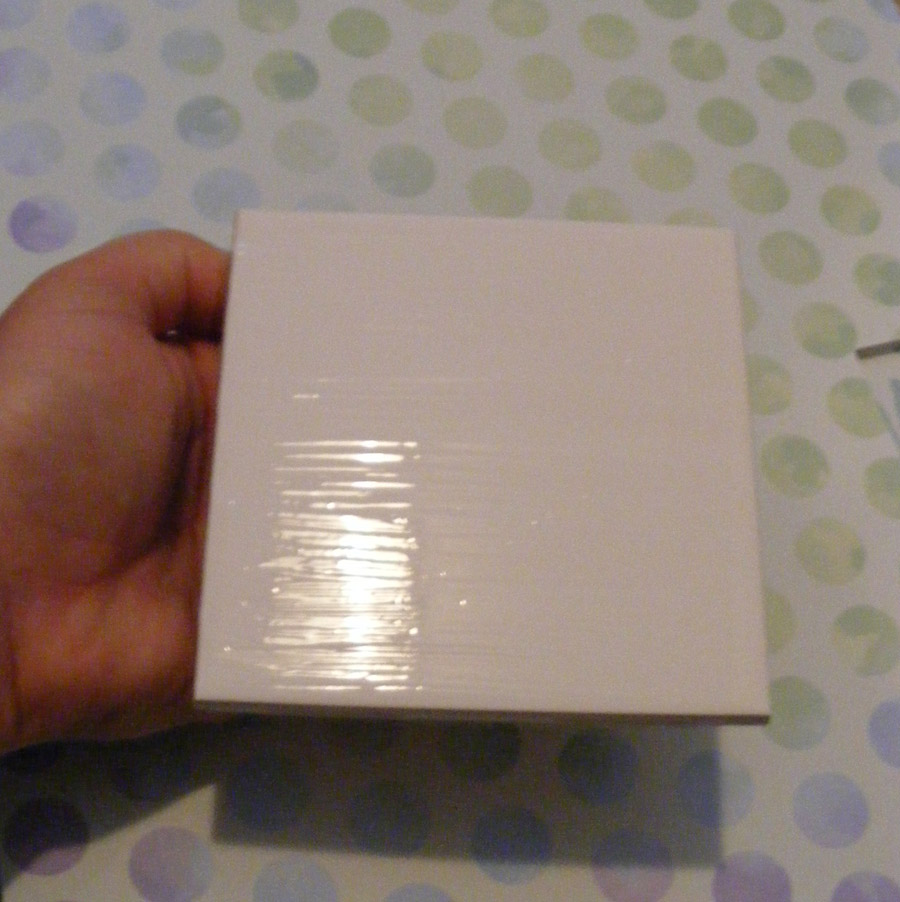
| As your second coat of mod podge is drying, your coaster will be a little cloudy |


Laura Catherine Otero is a marketing professional and blogger in Charleston and Columbia, SC  RSS. Laura can also be found on Twitter (@LauraCatherineO), Facebook, and LinkedIn.
RSS. Laura can also be found on Twitter (@LauraCatherineO), Facebook, and LinkedIn. 
Comments
Post a Comment